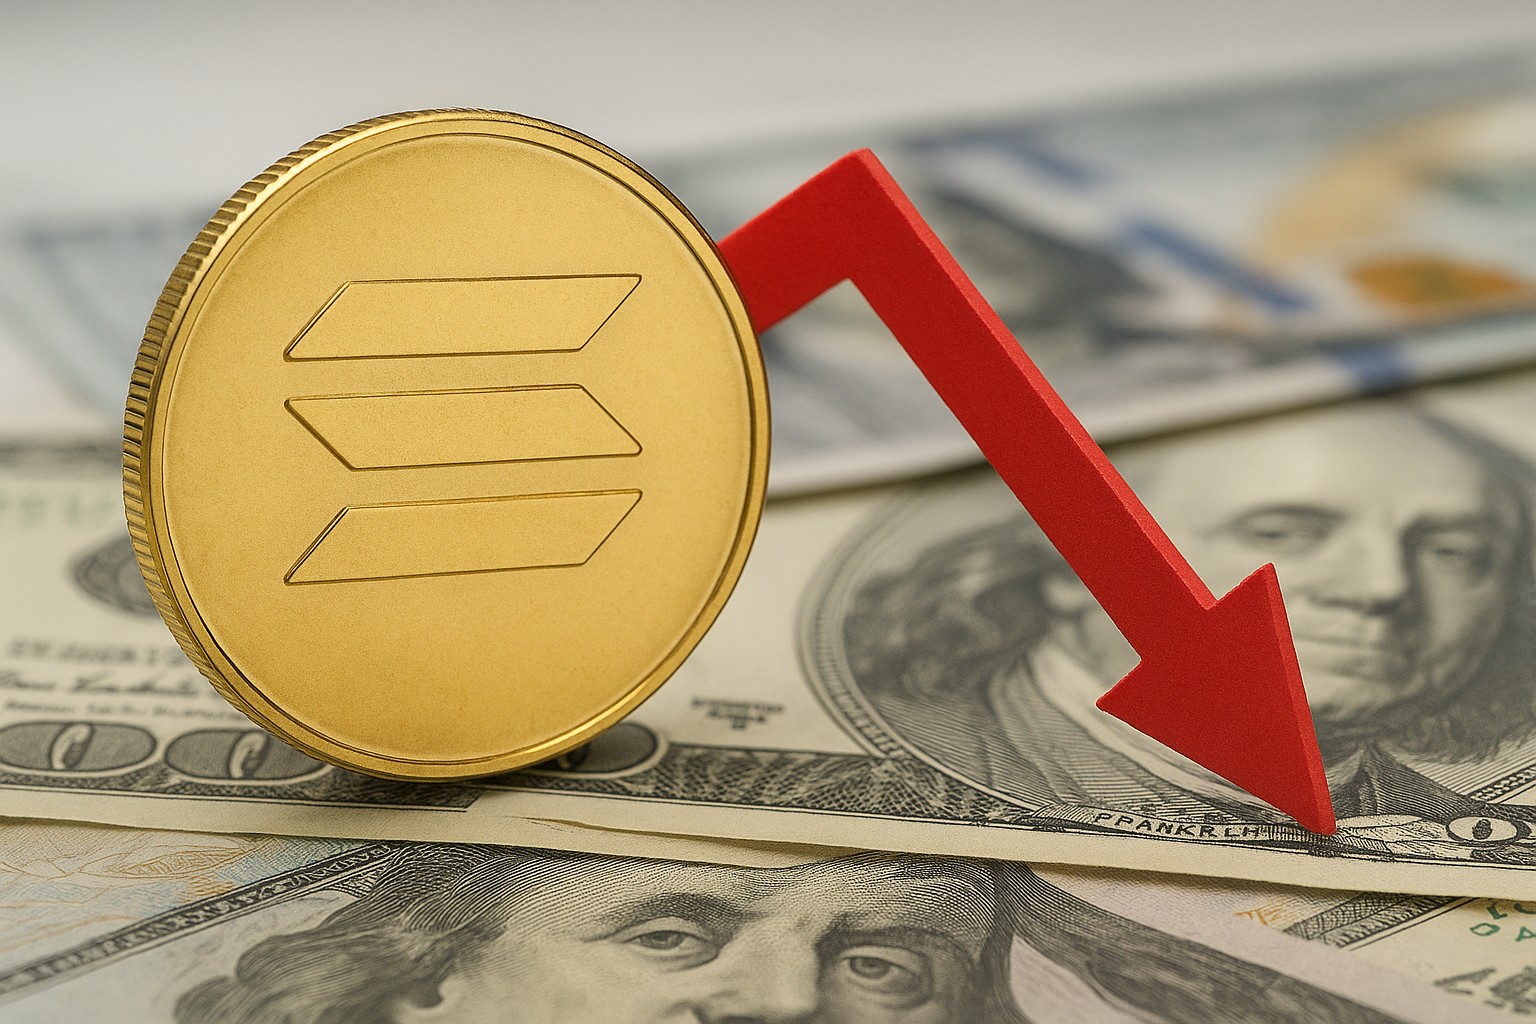
Solana momentum turns bearish and traders watch the 75 dollar area as the chart drifts toward a make-or-break support zone. If that floor fails, the next move could be fast; if it holds, the rebound may still be shallow unless demand clearly returns.
Market snapshot: why $75 is suddenly the number everyone cares about
Solana has been stuck in a frustrating middle ground: not collapsing outright, but also failing to reclaim levels that would flip sentiment back to bullish. When a market grinds sideways after a bigger downtrend, traders start treating the nearest major support as the line between consolidation and continuation.
The “$75 area” matters because it tends to attract both types of participants: dip buyers looking for a bargain and short sellers looking for a clean breakdown. In practice, that creates a crowded zone where liquidity builds, stop-loss orders stack up, and volatility can spike the moment price decisively leaves the range.
From a behavioral standpoint, repeated visits to the same support often change the odds. Each test can either strengthen the floor (buyers defend it) or weaken it (buyers get exhausted). That’s why many traders now view $75 as less about precision and more about the story: whether SOL can prove sustained demand exists at lower prices.
Solana price analysis: structure, support zones, and what the range is signaling
From a pure Solana price analysis angle, the key is how SOL behaves around the lower boundary of its recent range. If price is consistently making lower highs while repeatedly tapping the same support, that’s typically a bearish structure: sellers are more confident on bounces, and buyers are only reacting at the bottom.
Support is rarely a single number; it’s a band. For SOL, traders often treat the mid-to-high $70s as the “decision shelf,” where wicks and closes matter more than intraday noise. A daily close below the band is generally interpreted as more meaningful than a quick dip that immediately rebounds, because closes reflect where the market agrees to hold risk overnight.
On the upside, the first challenge is usually the nearest cluster of prior breakdown points and short-term moving averages. If SOL can’t reclaim those levels and hold them for several sessions, rallies may be sold into quickly. Personally, I find these “pop-and-fade” bounces are where retail gets chopped up most—patience and clear invalidation levels matter more than prediction.
Technical indicators: MACD bearish crossover, moving averages, and momentum clues
Momentum indicators can’t predict the future, but they do summarize what’s already happening: whether buying pressure is improving or deteriorating. A commonly watched signal in this phase is the MACD bearish crossover, which suggests the recent push upward is losing strength relative to the prior trend.
When MACD weakens while price sits near support, it often creates a tense setup. Bulls need momentum to expand from support and reclaim resistance; without it, price can keep leaning on the floor until it breaks. Moving averages add another layer: if SOL trades below key averages and those averages slope downward, rallies tend to face selling pressure sooner.
How to interpret the signals without overreacting
Indicators work best when you treat them as a checklist, not a verdict. Here are practical ways traders often combine them:
- MACD crossover + negative histogram drift: momentum is fading; be cautious chasing green candles
- Price below short-term EMAs: rallies may be corrective rather than trend changes
- Downward-sloping averages: trend bias remains bearish until proven otherwise
- Divergence (if present): can hint at slowing downside, but needs confirmation via structure (higher low / reclaim level)
- Volume on breakdown vs. bounce: breakdown volume rising is more bearish than a low-volume dip
The biggest mistake I see is treating one indicator as a guaranteed trigger. A crossover during a range can whipsaw. The more actionable approach is to pair momentum signals with clear price levels: support breaks, resistance flips, and daily closes.
On-chain and flow drivers: exchange inflows, DEX activity, and risk appetite
Price doesn’t move on charts alone; it follows positioning and demand. When more tokens move onto exchanges, traders often read it as potential sell-side supply, especially if it coincides with weak bounces. It’s not always bearish—people deposit for many reasons—but persistent net inflows during fragile price structure can add pressure.
On-chain activity trends also matter for narrative and organic demand. When decentralized exchange activity and fee generation cool down, it can reduce the “background bid” that comes from real usage, not speculation. If traders feel the chain’s hottest segments (memecoins, airdrop farming, high-velocity DeFi) are slowing, they may rotate risk to other ecosystems.
Institutional and product-related flows can amplify this. If investment vehicles linked to SOL see slowing inflows over time, it doesn’t automatically mean a crash—but it can remove a stabilizing source of demand that previously helped absorb dips. In bearish regimes, markets often fall not because there’s massive new selling, but because steady buyers quietly step away.
Trading scenarios around $75: breakdown, bounce, and “dead-cat” rallies
Traders focusing on the $75 area are usually thinking in scenarios, not certainty. That’s the healthy way to approach a level where the market might accelerate in either direction. The two major questions are: what confirms a breakdown, and what confirms a reclaim?
A breakdown thesis typically looks for a strong daily close beneath the support band, followed by failed attempts to recover it. In that scenario, former support becomes resistance, and bounces into that zone may get sold. Risk management is crucial because breakdowns can be violent, but also prone to snapback rallies that punish late shorts.
A bounce thesis, on the other hand, needs more than a wick. Ideally you’d want to see SOL defend the area, form a higher low on subsequent retests, and reclaim a nearby resistance level with improving volume. Without that, bounces can turn into dead-cat rallies—sharp pops that fade once early buyers take profit and sellers reassert control.
In my experience, the “middle path” is what traps most people: price chops between support and resistance while indicators flip back and forth. If you’re not actively trading ranges, it can be smarter to wait for confirmation—either a clean reclaim (trend improvement) or a clean breakdown (trend continuation)—instead of trying to be early.
Risk management: levels to watch, position sizing, and common mistakes
If you’re trading or investing around a pivotal support like $75, the most valuable skill is defining where you’re wrong. That means choosing invalidation points before you enter, not after the market moves against you. A tight plan also reduces the emotional impulse to average down endlessly in a downtrend.
Position sizing matters more in bearish momentum phases because correlations rise and liquidity can thin out on sudden moves. A trade that feels “safe” at 2% volatility can feel very different when a single session prints a wide range. Many traders also underestimate weekend and off-hours liquidity in crypto, when levels can break more easily.
Common mistakes here include setting stops exactly on the obvious level (where many others place them), overleveraging because the support “should” hold, and confusing a brief bounce with a structural reversal. If you want one practical rule: let price prove strength through closes and reclaims rather than assuming the first touch is the bottom.
Conclusion: bearish momentum doesn’t guarantee a crash, but $75 is the pivot
Solana momentum turns bearish and traders watch the 75 dollar area because it’s the nearest point where the market must choose: defend and rebuild, or break and extend the downtrend. Indicators like a MACD bearish crossover can reinforce the caution, but price behavior around the support band—especially daily closes and failed reclaims—will likely be the real tell.
If SOL holds $75 and reclaims nearby resistance with improving participation, the narrative can shift from fragile to stabilizing. If it loses that zone convincingly, risk management becomes the priority, and traders will look for the next area where demand might realistically return.