Homemade Nan with simple pantry ingredients is one of the fastest ways to bring restaurant-style comfort to an ordinary weeknight. With a few basic staples, you can make soft, blistered flatbreads that are perfect for curries, soups, or quick wraps.
Why Homemade Naan Is Worth Making at Home
Making naan at home feels a little magical: a basic dough transforms into tender, chewy bread with charred spots and a buttery finish. The best part is control—you decide how thick, how fluffy, and how garlicky it gets. When I started making naan regularly, I realized it’s not just a “side”; it often becomes the main event on the table.
Another reason it’s worth doing is flexibility. Many store-bought options lean dry or overly bready, and reheating can make them stiff. Homemade naan stays soft longer, and you can revive it easily with a quick steam or skillet reheat. Plus, the ingredient list is short and familiar, which makes it approachable even if you don’t bake often.
Finally, it’s surprisingly budget-friendly. Flour, yeast, salt, a little fat, and a splash of yogurt or milk can produce a batch that feeds a family. Once you get the rhythm, you’ll find yourself whipping up naan not just for Indian food, but also for hummus nights, grilled meats, and even breakfast eggs.
Simple Pantry Ingredients You’ll Need (and Smart Substitutions)
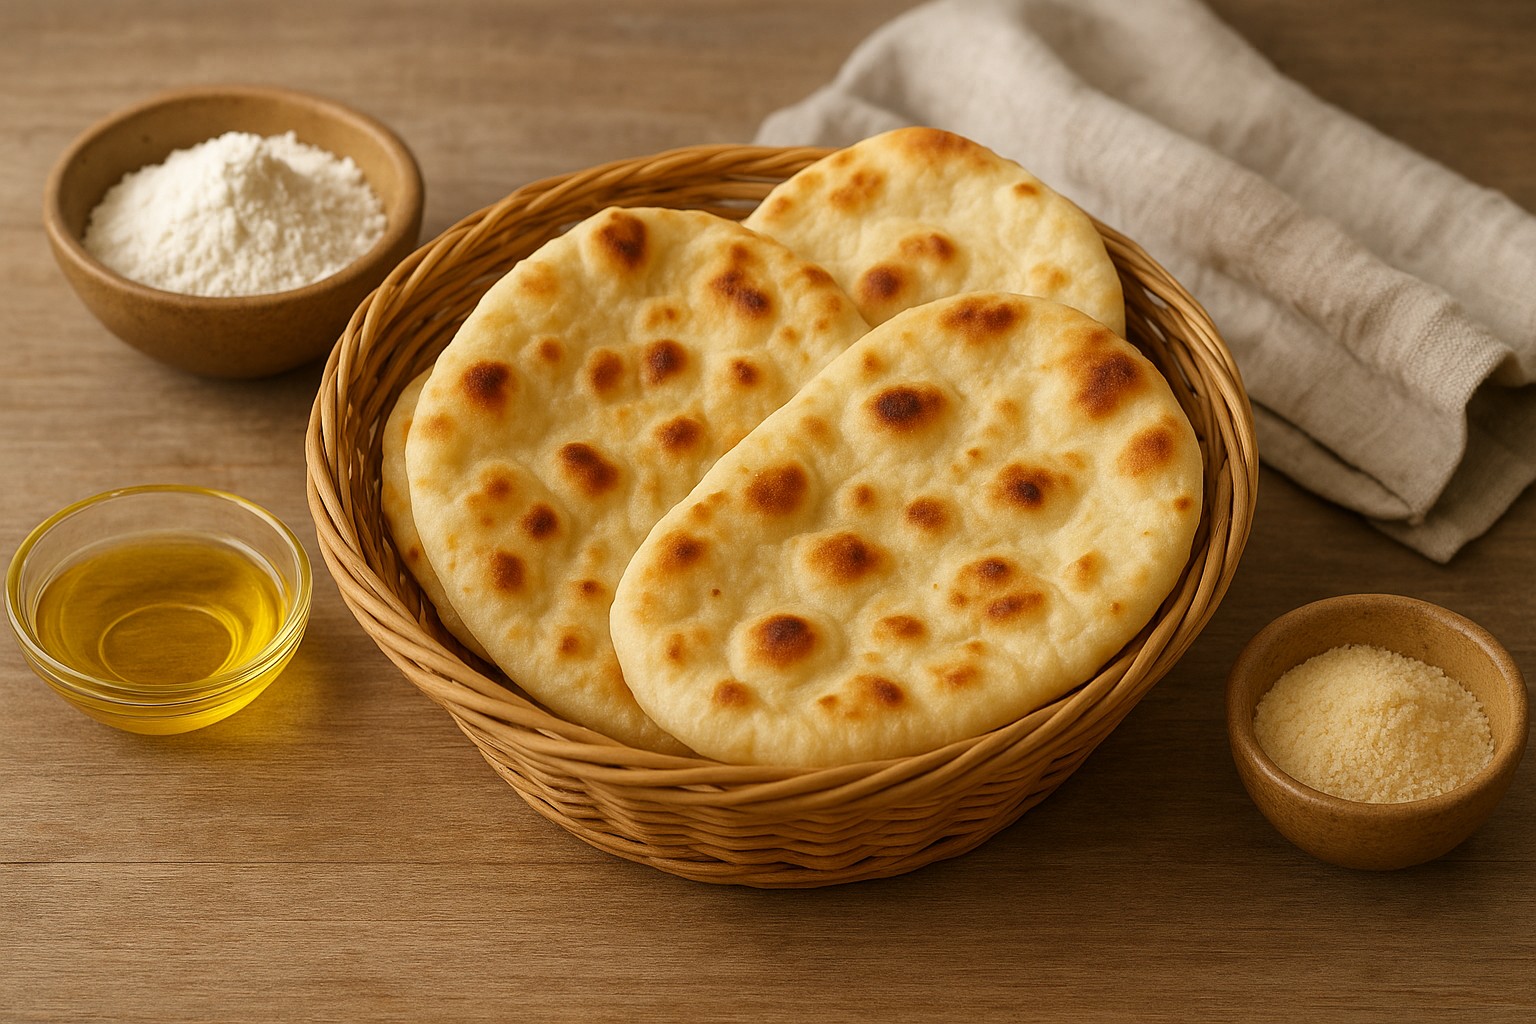
A reliable homemade naan starts with the basics: flour, leavening, liquid, salt, and a little fat. If your pantry is stocked for everyday cooking, you’re already most of the way there. Even “optional” ingredients like yogurt can be swapped, which is why this recipe style is so forgiving.
Most naan recipes use either yeast or baking powder (sometimes both). Yeast creates a slightly more complex flavor and better chew, while baking powder helps with puff and tenderness. If you’re short on time, you can still make excellent naan with a shorter rise, but giving the dough even 45–60 minutes makes a noticeable difference.
Here’s what I recommend keeping on hand and how to adapt when you don’t have everything:
- Flour: all-purpose flour is ideal; bread flour adds extra chew.
- Leavening: instant yeast or active dry yeast; baking powder for extra lift.
- Liquid: warm water, milk, or a mix; milk makes it softer.
- Yogurt (optional but great): adds tenderness and subtle tang; sour cream or buttermilk also work.
- Fat: oil, melted butter, or ghee; ghee gives the most classic aroma.
- Salt + a touch of sugar: sugar helps yeast and browning, but keep it modest.
If you’re aiming for a dairy-free version, you can use water plus a neutral oil and skip yogurt or use an unsweetened plant-based yogurt. The naan will still be pliable—just brush with oil rather than butter at the end.
Easy Naan Recipe (No Tandoor Needed)
You don’t need a clay oven to make naan that looks and tastes legit. A hot cast-iron skillet, griddle, or even a sturdy nonstick pan can create the signature blistering. The key is high heat and a well-hydrated, relaxed dough that rolls easily without fighting back.
For a dependable batch (about 6–8 medium naans), combine flour, yeast, salt, a small amount of sugar, and baking powder if using. Add warm water (and yogurt if you have it), then knead until the dough is smooth and slightly tacky. Let it rise until puffy—ideally 60–90 minutes in a warm spot. If your kitchen is cool, it may take longer; that’s normal.
When you’re ready to cook, divide the dough into balls and let them rest briefly. Roll each piece into an oval or teardrop shape, then cook one at a time in a ripping-hot pan. You’ll see bubbles form quickly; flip to finish. As soon as it comes off the heat, brush with melted butter or ghee and cover with a towel to keep it soft while you cook the rest.
Step-by-step method (with timing cues)
- Mix & knead (10 minutes): dough should be smooth and elastic; slightly tacky is ideal.
- First rise (60–90 minutes): look for visible puffing; it doesn’t have to fully double.
- Divide & rest (10 minutes): resting relaxes gluten so rolling is easier.
- Roll (2 minutes each): aim for uneven thickness—slightly thicker edges help with chew.
- Cook (1–2 minutes each side): bubbles + char spots mean your heat is right.
- Finish (immediately): butter/ghee + cover to trap steam and keep naan flexible.
If you want a more dramatic puff, lightly brush one side with water before placing it on the pan (water-side down). That moisture helps the surface blister while the inside stays tender.
Garlic Naan and Flavor Variations You’ll Actually Use
Once you can make basic naan, flavored versions are where the fun begins. Garlic naan is the obvious favorite, but there are plenty of practical variations that pair with different meals and help you use what you already have. I like to think of naan as a canvas: you can keep it simple for curry night or dress it up for guests without extra effort.
For garlic naan, the best approach is to apply flavor after cooking. Raw garlic can burn in a hot pan and turn bitter, so instead mix melted butter or ghee with finely grated garlic, then brush it on the hot naan. The heat of the bread gently cooks the garlic and mellows it. Finish with chopped cilantro and a pinch of flaky salt if you have it.
Other variations are just as easy and can turn naan into a complete meal base:
- Herb naan: parsley, cilantro, or dried Italian herbs mixed into the butter.
- Chili naan: chili flakes, cayenne, or a drizzle of chili oil for heat.
- Cheese naan: sprinkle shredded mozzarella or paneer-like cheese, fold, and roll gently before cooking.
- Whole-wheat blend: replace up to 50% of the flour with whole wheat for a nuttier taste.
- Stuffed naan: add a thin layer of spiced mashed potato or leftover lentils, seal, and roll carefully.
A small personal tip: if I’m serving naan with something rich like butter chicken, I go light on butter and heavy on herbs. If the meal is lighter—like lentil soup—I lean into garlic and ghee for extra depth.
Troubleshooting: Soft, Chewy Naan Every Time
If your naan turns out tough, dry, or pale, it’s usually one of three things: the dough is too dry, it didn’t rest enough, or your pan wasn’t hot enough. The good news is that each issue is easy to fix with small adjustments. Homemade naan is more forgiving than it looks, and you’ll feel the difference after just a couple batches.
A common mistake is adding too much flour while kneading or rolling. Naan dough should feel slightly sticky; that hydration is what keeps it soft after cooking. Use a light dusting of flour only as needed, and consider oiling your hands instead of flouring heavily. Also, don’t rush the resting stages—gluten needs time to relax or you’ll fight the dough and roll it too thin.
Heat is the other big lever. If the skillet is warm instead of hot, the naan dries out before it blisters and puffs. Preheat your pan for several minutes, and don’t be afraid to adjust between batches. If the naan is burning before it cooks through, lower the heat slightly; if it’s pale and stiff, raise it.
Here are quick fixes for common problems:
– Naan is hard or dry: increase hydration slightly; cover cooked naan to trap steam.
– Naan won’t puff: pan not hot enough, dough too thin, or not rested; try the light water-brush trick.
– Dough snaps back when rolling: rest longer (10–15 minutes) and roll gently from the center outward.
– Flavor is bland: add a touch more salt, use yogurt, or finish with ghee + salt.
– Too yeasty: reduce yeast a little or extend the rise at a cooler temperature for cleaner flavor.
Storage, Reheating, and Make-Ahead Tips for Busy Weeknights
Homemade naan is best fresh, but it stores better than most people expect. If you keep it covered right after cooking, it stays pliable for hours—perfect if you’re cooking a multi-dish dinner and want to avoid last-minute stress. For longer storage, cooling properly and sealing well prevents the dreaded dry edge.
To store, let naan cool to room temperature (so it doesn’t sweat in the bag), then place it in an airtight container or zip bag. It keeps well at room temp for a day, or in the fridge for 3–4 days. For longer, freeze it with parchment between pieces so you can pull out exactly what you need.
Reheating is where you can make it taste freshly cooked again:
– Skillet method (best): warm over medium heat 30–60 seconds per side; brush lightly with butter/oil.
– Oven method (batch-friendly): wrap in foil and heat at 180°C / 350°F for 8–10 minutes.
– Microwave (fastest): wrap in a damp paper towel and heat 10–20 seconds; finish in a pan if you want texture.
Make-ahead tip: you can prepare the dough earlier in the day and refrigerate it after the first rise. Bring it to room temp before shaping. This slow fermentation can even improve flavor, which is a nice bonus when you’re planning a weekend curry night.
Conclusion: Your Go-To Homemade Naan, Anytime
Homemade Nan with Simple Pantry Ingredients is one of those recipes that pays you back immediately: minimal cost, maximum comfort, and a skill you’ll reuse constantly. With a hot pan, a flexible dough, and a quick butter finish, you can get soft, chewy naan that rivals takeout—no special equipment required.
Once you’ve made it once, experiment freely: garlic naan, herb versions, cheese-stuffed rounds, or a whole-wheat blend. Keep notes on what you love (more chew, more blistering, more tang), and within a few batches you’ll have a personal “house naan” that fits your kitchen and your schedule.